
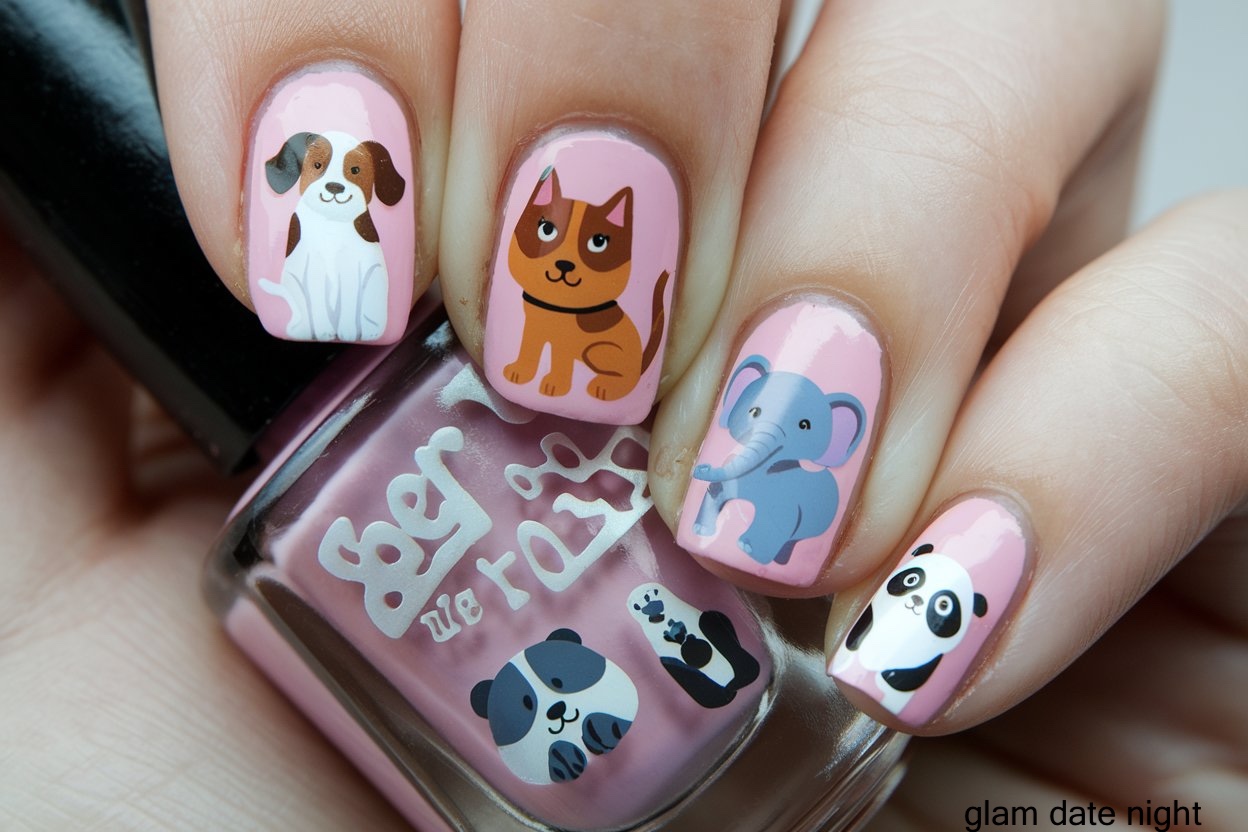
It’s 6:45 PM. You’ve got a reservation at 7:30, your outfit is already on point, and your nails are the one thing standing between you and a completely pulled-together look.
You grab a sheet of nail stickers because they’re fast, they’re cute, and honestly, they look great — until they don’t. That’s when the question hits: can I use top coat over nail polish stickers to lock this look in, or is that going to make everything worse?
That’s not a rhetorical question. It’s a real, practical style decision that can be the difference between a manicure that looks intentional all night and one that starts peeling before you’ve even ordered drinks.
Here’s what this guide is going to do for you. It’s going to answer that top coat question directly, and then it’s going to take you further — into which top coat actually works best over nail wraps and stickers, how to apply it without bubbling or lifting, and how to match your nail look to wherever the night is taking you.
I’m Sandy. I notice nails. Not in a way that’s looking for flaws, but in the way that a finished, cohesive look registers — and so does one that’s clearly rushed. Nail stickers done right look incredible. Done without the right finishing step, they look like an afterthought.
The difference is smaller than you think, and it starts with understanding exactly what a top coat does to a nail sticker — and why skipping it is the one style mistake you don’t want to make tonight.
Why Nail Stickers Are the Smartest Date-Night Shortcut You’re Not Using Correctly
Let’s get one thing straight: nail stickers are not the budget option. They’re not the lazy option. When they’re applied well and finished correctly, they are genuinely one of the sharpest, most consistent nail looks you can walk out the door with.
The designs are precise, the patterns are repeatable, and the variety is wider than anything you’re going to replicate freehand at home an hour before a date.
The problem isn’t the sticker. The problem is stopping there.
Without a proper top coat seal, nail stickers have a shelf life that doesn’t match your night. The edges catch on everything — a clutch, a jacket sleeve, the rim of a wine glass — and once one corner lifts, the whole look starts to unravel.
The surface loses its shine, the design looks flat, and by the time dessert arrives, you’re picking at your nails instead of enjoying the evening.
From where I’m sitting, a finished nail registers immediately. It reads as deliberate. It tells me that the whole look was thought through, not thrown together in a panic. That’s attractive. That’s confidence in the details.
One step — the right top coat, applied the right way — is what turns a nail sticker from a shortcut into a style statement. That’s exactly what the next section breaks down.
Can You Use Top Coat Over Nail Stickers — And Should You Always?
Yes, you can use a top coat over nail polish stickers. And for a date night? You absolutely should — every single time, no exceptions.
Here’s where a lot of people second-guess themselves: they reach for whatever clear polish is sitting on the shelf and assume it’s the same thing as a dedicated top coat. It isn’t.
Regular clear nail polish is formulated to be a base layer or a color coat. It dries slower, it layers differently, and it doesn’t deliver the same high-gloss, hard-shell finish that a proper top coat does. On a sticker, that difference is visible.
The other concern worth addressing directly: does clear nail polish ruin nail decals? The honest answer is that the wrong application can. If you’re flooding the nail with a thick, wet coat, you risk the formula interacting with the sticker’s surface and distorting the design — colors can bleed at the edges, and delicate patterns can blur.
A thin, controlled application of a dedicated top coat preserves everything underneath it. The design stays crisp, the finish looks intentional, and the whole nail reads as one cohesive surface rather than a sticker sitting on top of a nail.
A glossy, sealed nail catches light the right way. A dull or lifting sticker catches attention for the wrong reasons. The finish is the detail that decides which one you’re working with tonight.
Regular Top Coat vs. Gel Top Coat — Which One Actually Works Over Stickers?
Both work. The question is how long you need the look to last and how much setup you’re willing to do.
A standard top coat is your best friend for a single date night. It dries fast, it applies easily, and when it’s the right formula, it delivers a finish that looks genuinely salon-quality. For a dinner reservation, a rooftop cocktail bar, or a weekend brunch date, a high-quality regular top coat is all you need.
A gel top coat is a style upgrade for situations where the look needs to survive more than one night — a long weekend away, a multi-day event, a vacation where your nails are going to be visible constantly. The finish is thicker, the gloss is deeper, and the durability is significantly better.
The trade-off is that you need a UV lamp to cure it properly. Skipping that step doesn’t just reduce longevity — it leaves the surface tacky and uneven, which defeats the entire purpose of applying it.
If you’re going the gel route, commit to the full process, because a half-cured gel top coat looks worse than no top coat at all.
The Best Top Coat for Nail Wraps and Stickers — What to Look for Before You Buy
Shopping for the best top coat for nail wraps and stickers isn’t about finding the most expensive bottle on the shelf. It’s about knowing what the finish needs to do and matching the formula to that job. Here’s what actually matters.
High-gloss finish. This is non-negotiable for date night. A top coat that dries to a soft sheen rather than a true gloss flattens the whole look. You want the kind of shine that catches light across the room, not something that looks like it needs another coat.
Fast dry time. A top coat that takes twenty minutes to set is a liability. You’ll smudge it, dent it, or lose patience and move on before it’s fully cured. Look for formulas that advertise a dry-to-touch time of sixty seconds or under.
Self-leveling formula. This is the quality that separates a smooth, uniform finish from one that shows every brushstroke. A self-leveling top coat settles into an even surface on its own, which is especially important over stickers where the edge of the design can create a slight ridge.
Flexibility. A rigid top coat cracks when the nail flexes. On a sticker, that cracking shows up as a fine line across the design — visible, unflattering, and completely avoidable.
Some nail wrap brands sell their own proprietary top coats, and they’re worth trying if you’re already using that brand consistently.
They’re often formulated to work specifically with the sticker material. That said, a high-quality universal top coat with the qualities above performs just as well across most wrap and sticker styles.
From my perspective, the shine and uniformity of the finish register just as much as the design itself. A beautiful sticker under a cloudy or uneven top coat is a missed opportunity.
Getting the formula right before you ever open the bottle is what sets the rest of the look up for success — and that success comes down entirely to how you apply it.
How to Apply Top Coat to Nail Wraps Without Bubbling or Lifting
The right top coat in the wrong hands still produces a bad result. Bubbling, lifting, and uneven finish aren’t formula problems — they’re technique problems. Knowing how to apply top coat to nail wraps without bubbling comes down to a few deliberate moves that take less than five extra minutes and make an enormous visual difference.
Step-by-Step Application for a Bubble-Free, Sealed Finish
Step 1: Press the sticker completely before you open the top coat. Every edge, every corner, every millimeter along the nail tip needs to be fully adhered. Run your fingernail along the edges firmly. Any air pocket left under the sticker will show up as a bubble once the top coat goes on.
Step 2: Use thin, even strokes and avoid flooding the brush. Wipe one side of the brush on the bottle rim before applying. A brush that’s carrying too much product drags across the sticker and pools at the edges, which is where lifting starts.
Step 3: Cap the free edge on every nail. Drag the brush horizontally across the very tip of the nail — the exposed edge of the sticker. This step seals the end of the design and is the single most effective thing you can do to extend the life of the look.
Step 4: Let the first coat dry completely before adding a second. Layering wet over wet traps air and creates the exact bubbling you’re trying to avoid.
Step 5: Apply a second thin coat. Once the first is fully dry, a second coat adds depth to the gloss and reinforces the seal across the entire nail surface.
The Edge-Sealing Move That Prevents Peeling — Every Time
If there is one non-negotiable technique for anyone who wants to know how to prevent nail stickers from peeling at the edges, it’s this: wrap the top coat over the tip and slightly underneath the free edge of the nail on every single coat.
The motion is deliberate — finish your stroke across the nail surface, then angle the brush slightly downward and drag it across and just under the nail tip. You’re essentially creating a cap that holds the sticker in place from both sides. Do this on the first coat and repeat it on the second.
Peeling edges are the first detail I notice when a manicure is starting to give up. It signals that the look has a time limit on it, and that’s the opposite of the impression you want to leave.
A nail that’s sealed all the way to the tip looks finished, intentional, and like it’s going to look exactly the same at the end of the night as it did at the beginning.
That’s the standard worth setting — and now that the technique is locked in, it’s time to talk about matching the look to wherever the night is actually taking you.
Matching Your Nail Look to the Date-Night Venue — A Guy’s Style Read
Technique gets your nails ready. Venue awareness gets them right. The same sticker design that looks incredible at a rooftop bar can feel mismatched at a Sunday brunch, and a playful floral wrap that’s perfect for a casual afternoon date reads as underdressed at a candlelit dinner. Where you’re going should shape what goes on your nails — and here’s how I’d read each scenario.
Upscale Dinner or Rooftop Bar
This is the setting where restraint wins. Sleek metallic stickers, a clean French tip wrap, or a subtle floral design in a neutral palette — these are the looks that hold up under mood lighting and across a dinner table.
The design does the work quietly, and the finish does the rest loudly. This is where an ultra-gloss top coat earns its place. That deep, lacquered shine reads as polished and deliberate, which is exactly the energy an upscale venue calls for.
Pair it with a minimal clutch and a monochrome outfit, and the nails become the detail that ties everything together without competing with anything.
Casual Date, Brunch, or Outdoor Setting
This is where you can have more fun with the design — brighter colors, bolder patterns, something with personality. A matte top coat over a vivid sticker softens the look just enough to feel relaxed and editorial rather than overdone.
It’s an unexpected finish that reads as intentional without trying too hard, which is exactly the balance that works in a daytime setting.
Effortless but considered is the most attractive combination I can think of, and a matte seal over a bold sticker delivers that every time.
Late-Night or Event Date
Long night ahead — dancing, drinks, a concert, a late dinner that turns into something else entirely. This is the scenario where your nail look needs to keep up. Glitter stickers and bold graphic wraps are made for this setting, and a gel-style top coat is the right finishing move.
The seal is thicker, the gloss holds longer, and the whole look survives the kind of evening that tests everything. Nobody wants to be pulling at a lifting nail edge on a dance floor. Seal it properly before you leave, and it won’t be a thought you have again until the next morning.
Outfit and Aesthetic Coordination — Making Your Nails Part of the Full Look
Nails are an accessory. That’s the reframe that changes everything about how you approach them on a date night. You wouldn’t grab a bag that clashes with your shoes and call it styled — the same logic applies here.
The coordination doesn’t need to be literal. In fact, when it’s too literal, it reads as costume rather than style. You don’t need your nails to match your dress exactly. What you’re going for is echo, not copy. A warm metallic sticker alongside gold jewelry and nude heels — that’s cohesion.
A deep burgundy nail wrap paired with a wine-toned lip and a camel coat — that’s intention. Those combinations register as a complete look, not a collection of separate choices.
The easiest starting point is your jewelry or your shoes, since those tend to anchor the color story of an outfit without dominating it. Let the nail design pick up one tone from either of those, and you’re already working with the look rather than against it.
From where I sit, the most attractive quality in any date-night look isn’t any single piece — it’s the sense that everything was considered together.
When the nails feel like part of the outfit rather than something that happened to be on your hands, that reads as confidence. And confidence, consistently, is the detail that matters most.
The Confidence Close — What a Flawless Manicure Actually Signals on a Date
Here’s the honest answer to the question that started all of this: yes, you can use a top coat over nail polish stickers, and yes, it makes all the difference. But the real answer is bigger than the technique.
A finished manicure isn’t about being perfect. It’s about the signal it sends — that you showed up having thought about the details, that you cared enough to take the extra five minutes, that the look you walked in with was intentional from the outfit down to the fingertips.
That registers. Not in an obvious, checklist kind of way, but in the way that a complete, cohesive look always does. It adds up to confidence, and confidence is what actually makes an impression.
Nail stickers give you a shortcut to a great design. The right top coat gives that design staying power and finish. The technique gives it polish. And the coordination gives it context. Put all four together, and you’re not just wearing nail stickers — you’re wearing a look.
Walk in tonight knowing the details are handled. That’s the energy that sets the tone for everything else.
For more date-night beauty and style guides built around what actually works, keep exploring Glam Date Night.